React Native has become one of the most popular cross-platform and native mobile app development frameworks. React Native is an open source framework that has been developed and maintained by Facebook team and community and gets updated monthly.
By the time of this post, the latest version of React Native is 0.60.5. If you have an existing project running with an older version than that, then you most probably are looking for ways or guides to upgrade to the latest version.
For more information about what's new in React Native 0.60, please read Announcing React Native 0.60.
This post will provide the most straightforward approach to update your project to the latest React Native version, along with all the possible troubleshooting that is needed to fix all the issues that you may have during the migration.
Two Approaches to Upgrade React Native to the Latest Version
First Approach - Upgrading a React Native app in-place
In this approach, the outdated React Native app is migrated in-place. With some updates and new configuration files added to your project, you will get your project upgraded to the latest React Native version.
We found that this approach is problematic and not easy enough compared to the second approach. However, if you’re interested in this approach, here’s the migration guide provided by Facebook that will help you through this process.
This post will not provide any elaboration on this approach, more than providing the Facebook upgrade guide.
Second Approach - Upgrading a React Native app using a new project
This approach is completely different from the first one and also fairly easier. It’s also what this post will be concerned of by providing every step and solution to every possible error that you might search for and investigate for hours.
This approach will also elaborate more on how to create a new React Native project implicitly as part of the upgrade process. To follow this approach, you need to go through the following steps:
- Upgrade the React Native NPM library.
- Create a new React Native project.
- Installing Cocoa Pods.
- Fix missing device support files on XCode.
- Upgrade XCode.
- Migrate source code.
- Yarn instead of NPM.
- Deprecated ListView.
Upgrade the React Native NPM library
This is the first primitive step in the upgrade journey. This step will upgrade your React Native global library by running this command on a terminal window:
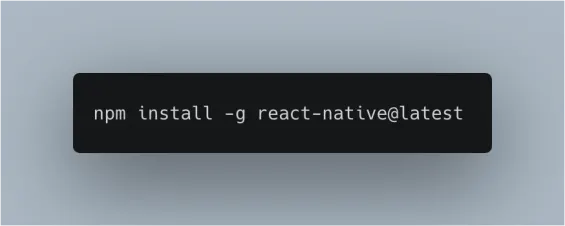
The above command will either upgrade your existing React Native library installed or install a new one if you did not install React Native library before (which is not the case of a migration).
Create a new React Native project
Once you upgraded your, it’s the right time to create a new React Native project. A React Native project can be created by the React Native CLI with a very simple command:
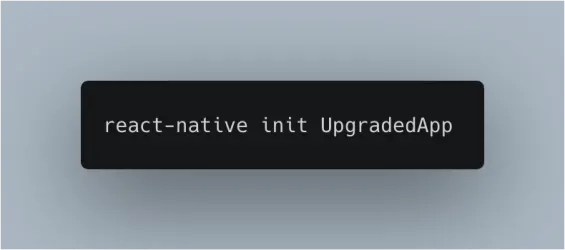
In the above command, the “UpgradedApp” represents the React Native project name. You can write any project name that suits your requirements.
After you run this command, the React Native framework will download an app template and create the app files for you and then prompt you to install Cocoa Pods as shown in the snapshot below:

You should accept this installation by typing “Y” but if it failed then the next section will handle that issue.
Note: If you found no issues installing Cocoa Pods, then skip the next section
Installing Cocoa Pods
This step will get Cocoa pods installed and install the pod created for your iOS project. To install Cocoa pods, type in the following command:
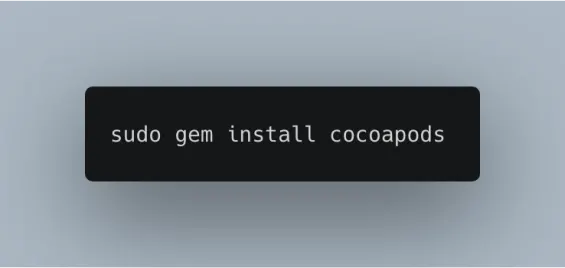
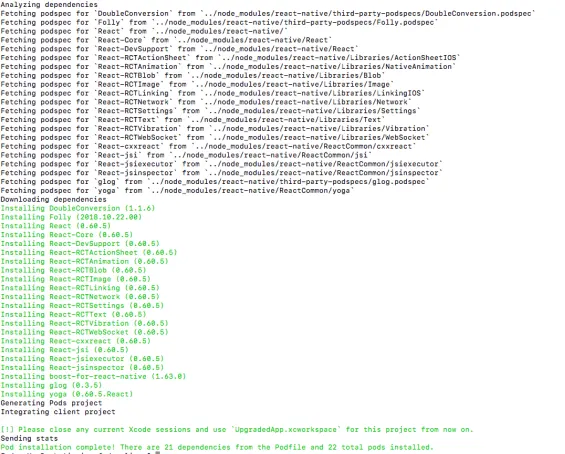
After running this command, you should get a result that is similar or close to the following snapshot

The next step installing Cocoa Pods is change the ownership of the iOS project files and directories to the current user by running the following command:
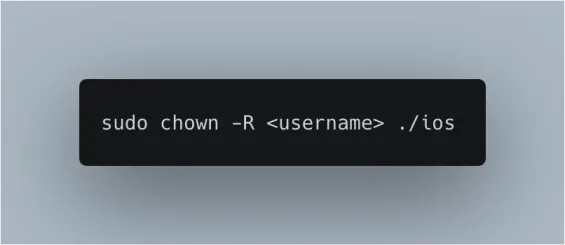
Make sure that you replace <username> by your own username you logged in with on your Mac.
The next step is to install the pod file generated in your iOS project. To do so, you should run the following command:
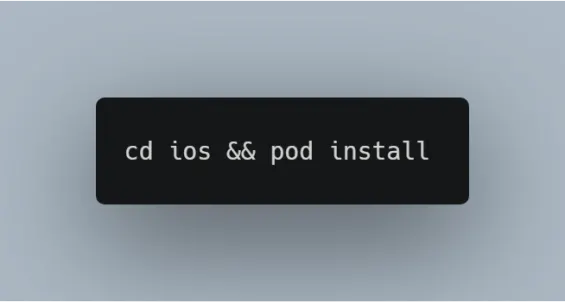
Assuming that your terminal was set to your React Native project directory, you should navigate to your iOS project directory, then install the pod file placed there by the above command. You should get a result that is similar to the following snapshot.
Fix missing device support files on Xcode
Now, at this step, you should open Xcode, open the React Native iOS project placed in the iOS directory and try to build the application. You may find an error building this application similar to the following:
“Could not locate device support files in Xcode”
If you experienced the same error, then the fix is beyond simplicity. You should download the device support files and place them in their correct Xcode device support files directory. To do so, please follow the directions presented in this stack overflow post.
Upgrade Xcode
If your Xcode is below version 10, then you should upgrade your Xcode to a version that is compatible with your macOS. To do so, please follow these steps:
- Navigate to Apple Software Downloads.
- Login with your Apple ID.
- Download the right Xcode xip file.
- After download is completed, expand the xip file.
- Drag your Xcode app file to the "Applications" directory on Finder.
Now, give it a try and open the upgraded Xcode then open the iOS project placed in the iOS directory in your React Native project directory then build the app. The app should build successfully at this point.
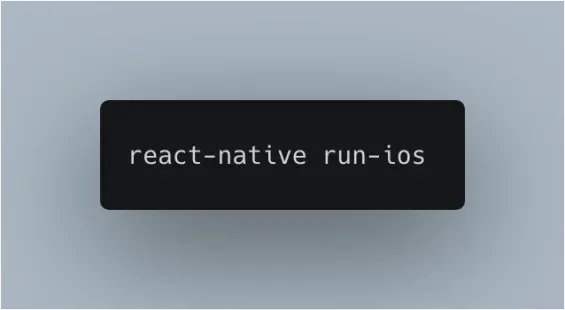
Having the React Native app building successfully on Xcode means it will build successfully using React Native CLI. To try that, type in and run the following command:
Migrate source code
At this step, you have a React Native app that builds successfully. Now, it’s the right time to copy over your source code file from your old React Native outdated app to the newly created upgraded one. To do so, please follow these steps:
- Assuming your source code files placed in a “src” directory, then copy over that directory to the new app.
- Copy all the code in the App.js and index.js to the new app.
- Copy assets directory to the new app.
- Copy over all packages placed in packages.json from the old app to the new one, except the React and react-native libraries. Those are the newly upgraded libraries.
Note: The above steps are the basic ones needed to do a basic code migration. In your case, you might need to copy more configs, code files or do extra installations. So we recommend that you carefully check all those differences and make sure they are safely moved to your upgraded new app.
Yarn instead of NPM
In the upgraded app, you might have noticed that it doesn’t use npm anymore. You will find a yarn.lock file, which means the new, upgraded project is using yarn. So in order to install all your dependencies, you would need to run the following command:
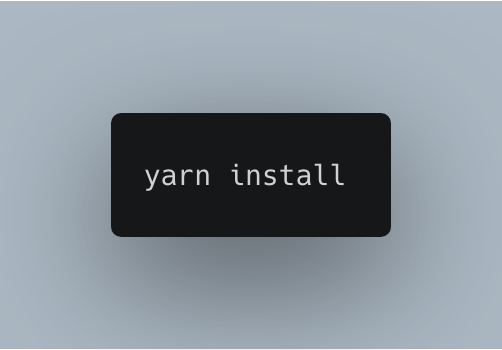
If you don’t have yarn installed on your Mac yet, then you should install it by running the following command:
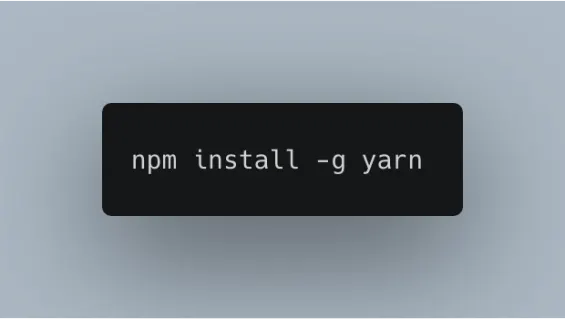
Then, after installing yarn, you should re-run the “yarn install” command again to get your dependencies installed using yarn.
Yarn handles dependencies far better than NPM. For more information about the differences between yarn and npm, please read this post.
No More ListView - It’s Deprecated
ListView is a common and popular React Native control that renders a list on your mobile app. That’s why it’s very likely you have used it in your older, outdated React Native project. If that is a reality, then if you tried running your React Native application using “react-native run-ios” you will get an error showing that ListView is deprecated and removed from the “react-native” library.
Luckily, the error provides some suggestions to fix this issue, as shown in the snapshot below.
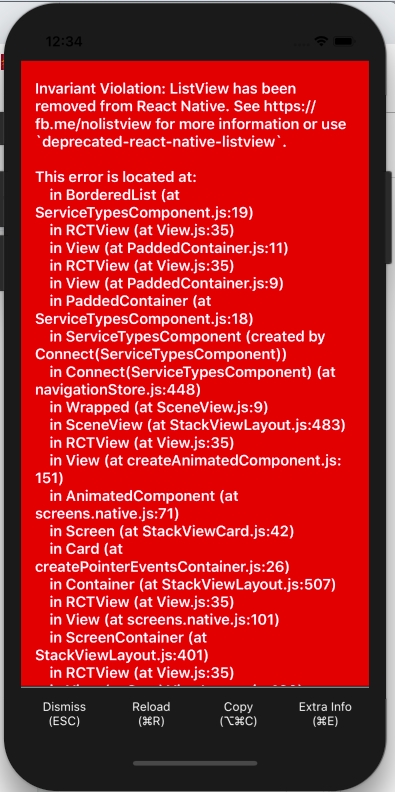
As the error suggests, the fix is simple.
You should add the “deprecated-react-native-listview” library to your project using yarn and use the ListView of that library instead of the “react-native” library. To do so, you should run the following command:
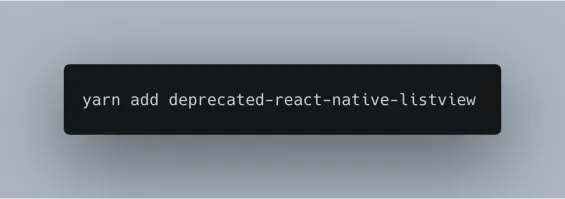
Then, you should find all ListView instances inside your code base and replace them with the new library installed above. To do so, find any ListView import statement that matches the below one.
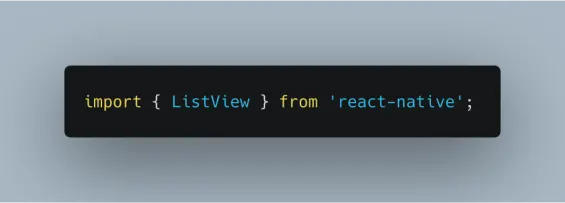
Once you find any usage of ListView as shown above, you should replace it with the following:

And leave your code base as is without any changes.
Final Thoughts
The provided upgrade steps are just a simple blueprint to follow that will help you do your own migration.
The amount of issues that you might encounter could be more or less, but at least the basic ones, getting your app through the most common errors, are provided in this post.
If you have found any different errors or different behaviors, please feel free to share them through the post comments and I will be happy to help and get your app through this upgrade journey safe.
Read Next
The following articles are related to the easiest way to upgrade react native to version 0.60.5.


